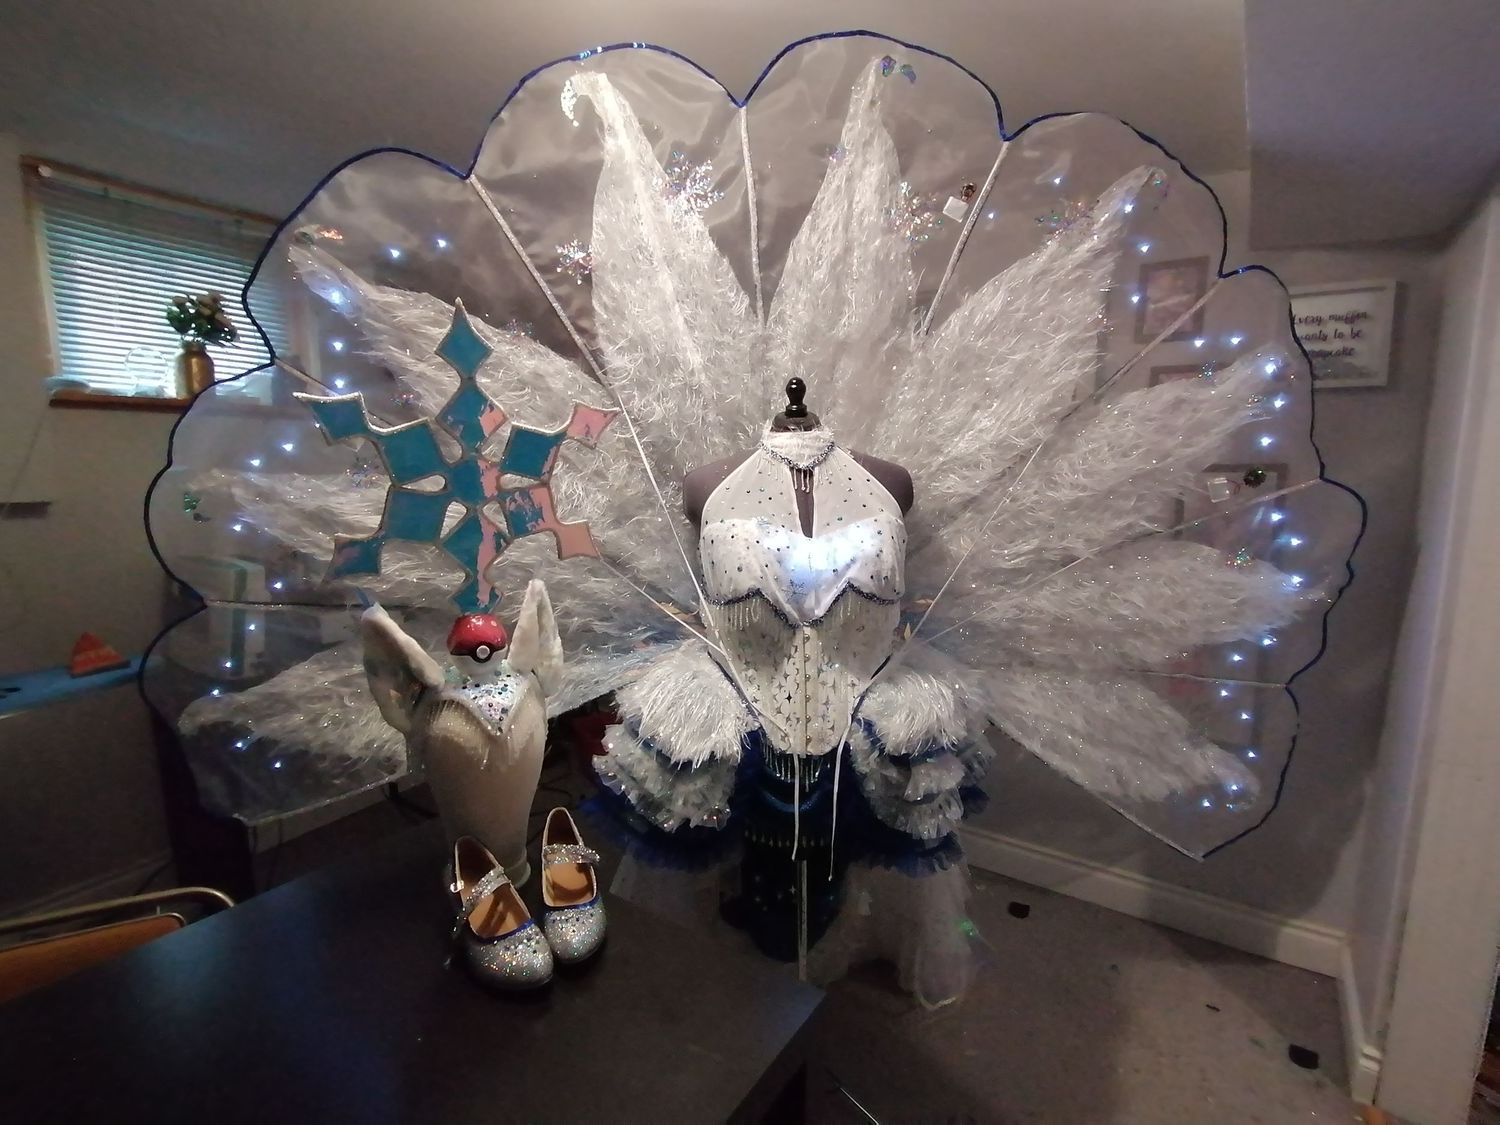
So You Wanna Make a Tail, Eh?
YOU HAVE COME TO THE RIGHT PLACE! THIS IS HOW I MADE MY TAIL—SO YOU DON'T HAVE TO STRUGGLE LIKE I DID.
Fabric
What you choose will depend on if your tails is going to need to be transparent and how much weight it will be holding. I choose Corset mesh, which I bought here.
Other great options would be:
- Stiff organza from FDW Fabric
- Crinoline Net from Mytextiles
- Fine Nylon mesh from Fatheringales or Texmark
Pattern
I used Redthreaded's 1860s gorded Corset as my base.
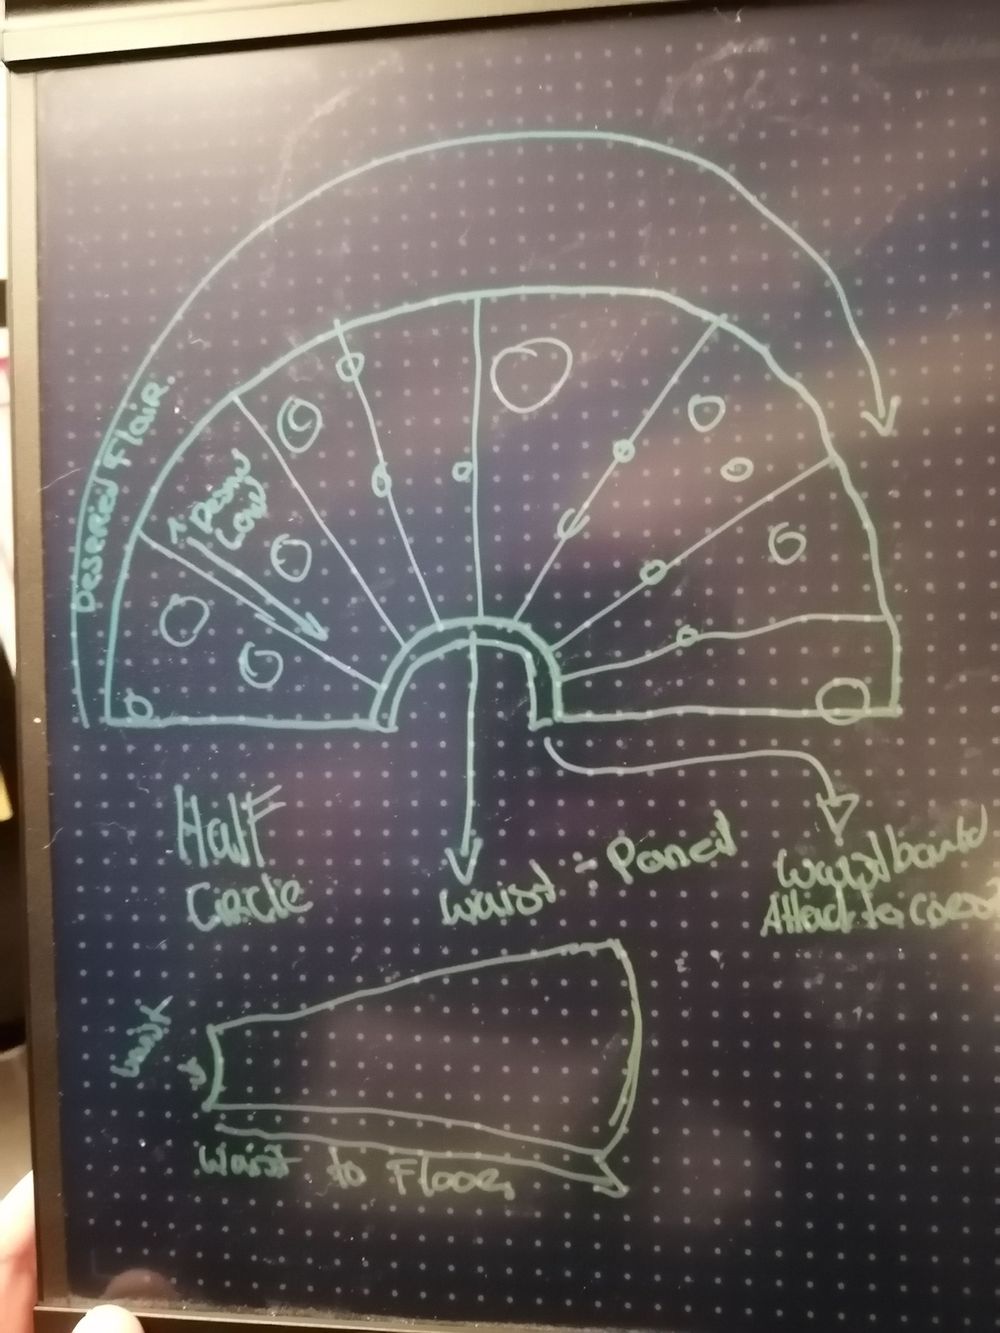
To make your life easier start with a half circle skirt as your base for your pattern; I drafted mine from half my waist measurement and fussed around with all the angle measurements—BUT SERIOUSLY start with the half circle skirt.
I recommend Charm Patterns' free cirle skirt pattern—Plus, Gertie is amazing! Or you can use a circle skirt calculator to make your own.
Sparkles!
If you don't want sparkle then go for it, but this is the GOOD STUFF!
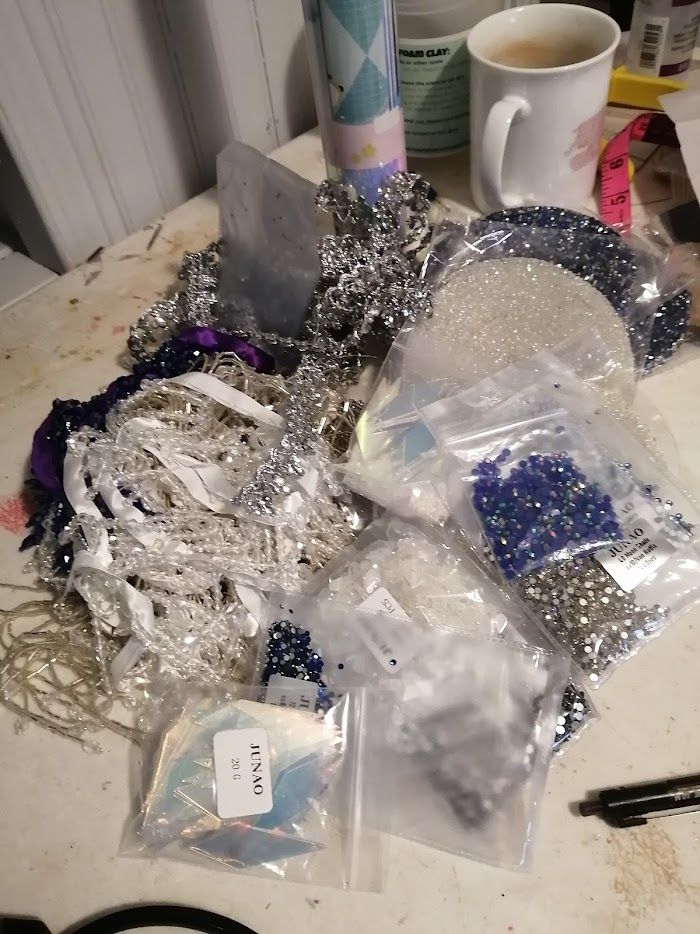
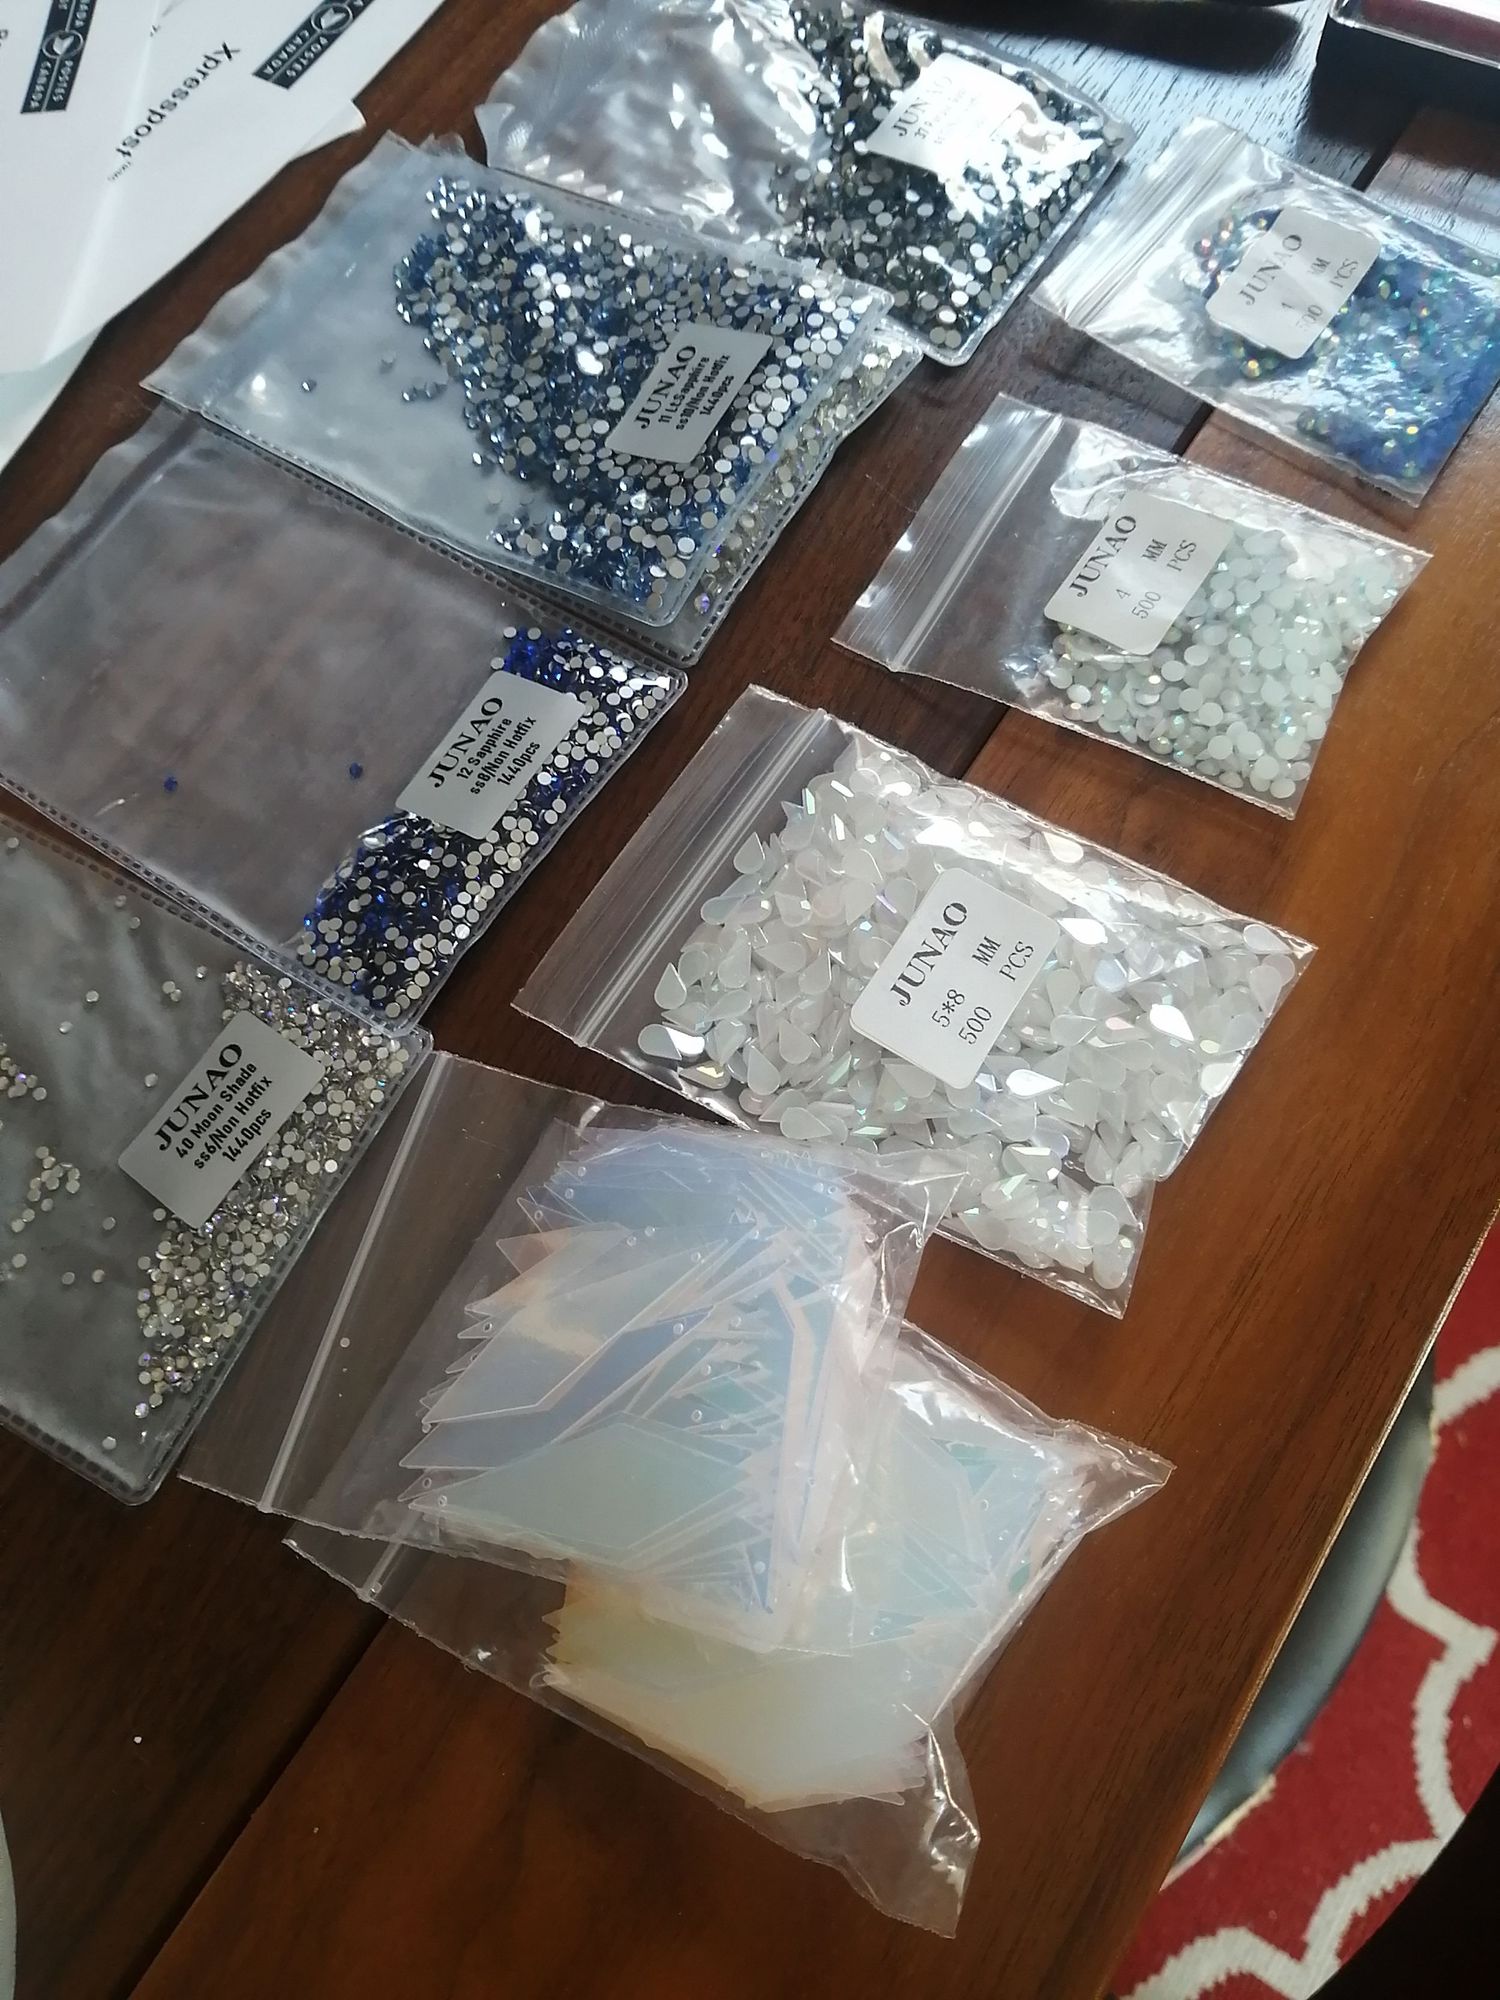
I choose:
- Iron on Vinyl
- Rhinestones: I always get mine from this seller
- LED's & Electronics: I got mine from Mouser and Canada Robotix
Now We Alter!
Part One
If you are using the charm pattern then reference the size chart and choose your size—If your drafting your own pattern then follow the steps that the blog and mood calculator below suggest.
- Measure your waist to your hip. Write this down somewehere
- Take the waist length and divide this by the number of wanted panels (In my case I choose nine)
Part Two
On your pattern, divide your waist into the number of wanted panels from previously, then draw a straight line to the hem—IF USING THE CHARM PATTERN lengthen your pieces to the "Waist to Hip" length. Do not forget to add 1cm of seam allowance.
I added more flare to my pattern. So when you look at my tail, you will see that it is 25% more than a half circle. If you want to do that too then do that now.
Part Three
Number your panels (1-9 in mine case) from 1 to whatever number of planels you ended up making. All of my instructions will assume you are using nine panels but you can adjust as needed.
For your Support Ribbons:
- Take your "waist to top of head" measurement
- On panels 3 and 7, take that measurement and measure down right side seam and then create a mark. Label this mark "attach ribbon one here"
- Repeat the steps on the left side seam, label the second mark "attach second ribbon here, if needed"
Part Four
For the length of the ribbions, I choose to cut mine at my "waist to head" measurement plus 20cm for altering.
Draft a waist band:
- Take half your waist measurement
- Draw a rectangle that is half your waist and 4cm tall.
If you are making your waistband a tie on, cut your ribbons that are your FULL waist length.
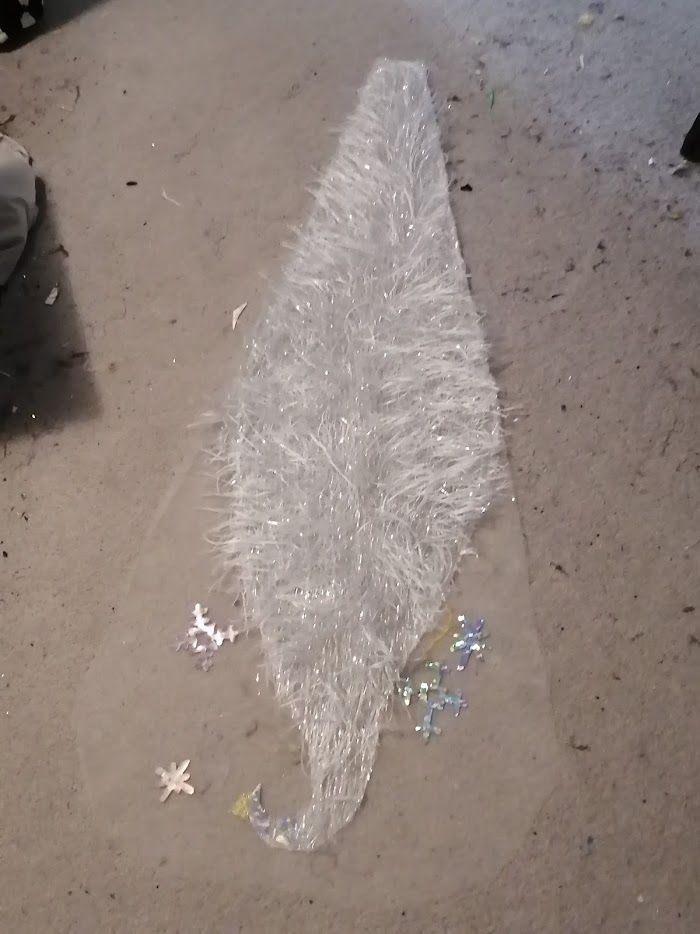
Cutting Out your Fabric
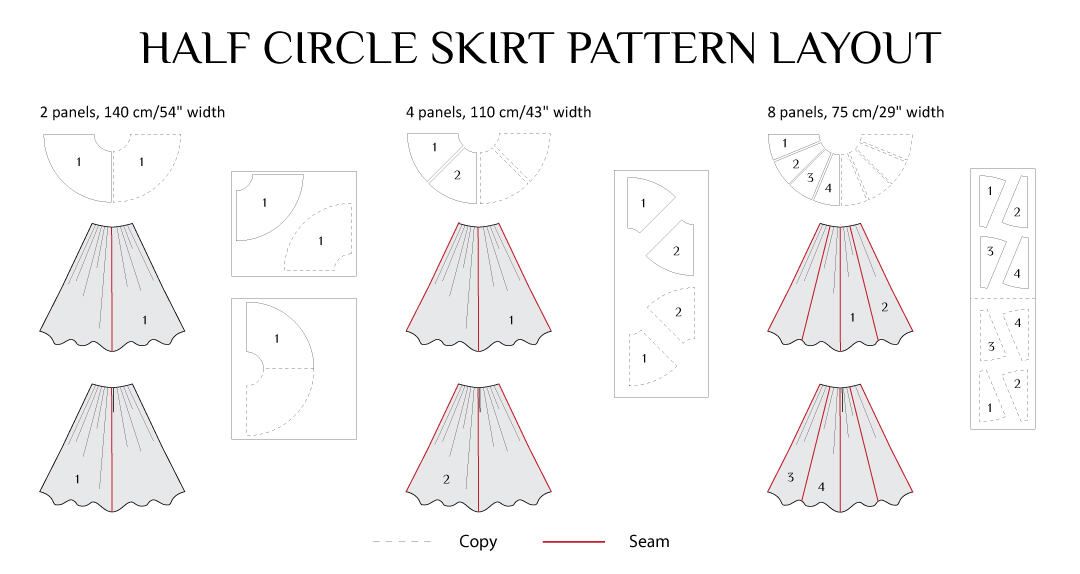
If you using Gertie's Pattern then she will tell you how to lay out your pattern pieces and how much fabric you need, however, you will want to buy extra if you lengthened your tail.
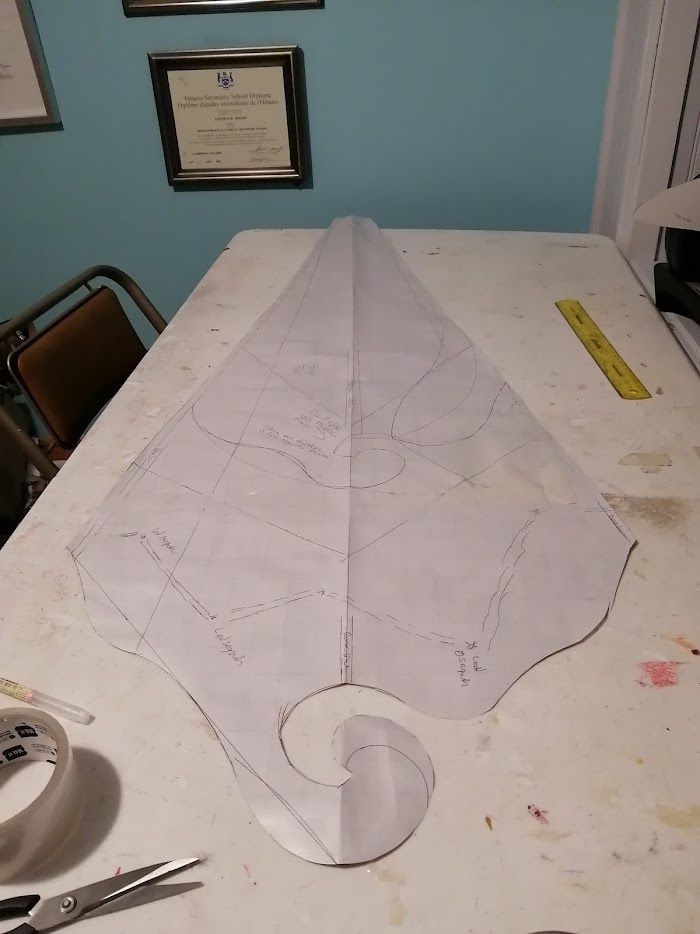
This image came from Sartor Bohemia. Sartor Bohemia goes into amazing detail about the math for the pattern. I used their blog when making my tutorial after I got SUPER STUCK—When I made my tail I ordered 6m (the tail's length plus a bit of extra) and I am so glad I had extra as I messed up when cutting out a panel.
DO NOT FORGET TO MARK YOUR #1 RIBBON PLACMENT ON YOUR PATTERN PIECES!
Let's Sew!
I did not make an offical mock-up but kinda just went for it. Kirilee Cosplay (who was SMART and DID make a mock-up) ran into the same issue I did: You need more SUPPORTS than you think when you make MASSIVE sized tail. If you are making a smaller tail, you might not need the extra supports past the seams... But massive panels need an extra support channel right up the center of the panel. I used boning chanelling for mine.
P.S. You can see Kirilee's award-winning build in her video from the Cosplay Central Crown Championship in Australia
When you sew your panels start with panels 3 & 4, as well as 6 & 7. Make sure to pin or handsew your 1st ribbon, on panel 3 to the right side seam. On panel 7, pin your 1st ribbon to the left side seam. Then pin your panels together, with one side of your boning chanel sandwiched in the middle, sew all three layers together. Then sew down the other side of the boing channel to the tail panel.
Lay panel 3/4 and 6/7 on the floor.
Then sew panel 4 & 5 together. Then 5 & 6.
Sew panel 1 &2 together, as well as 8 & 9.
Attach 1/2 to panel 3.
Attach 8/9 to panel 7.
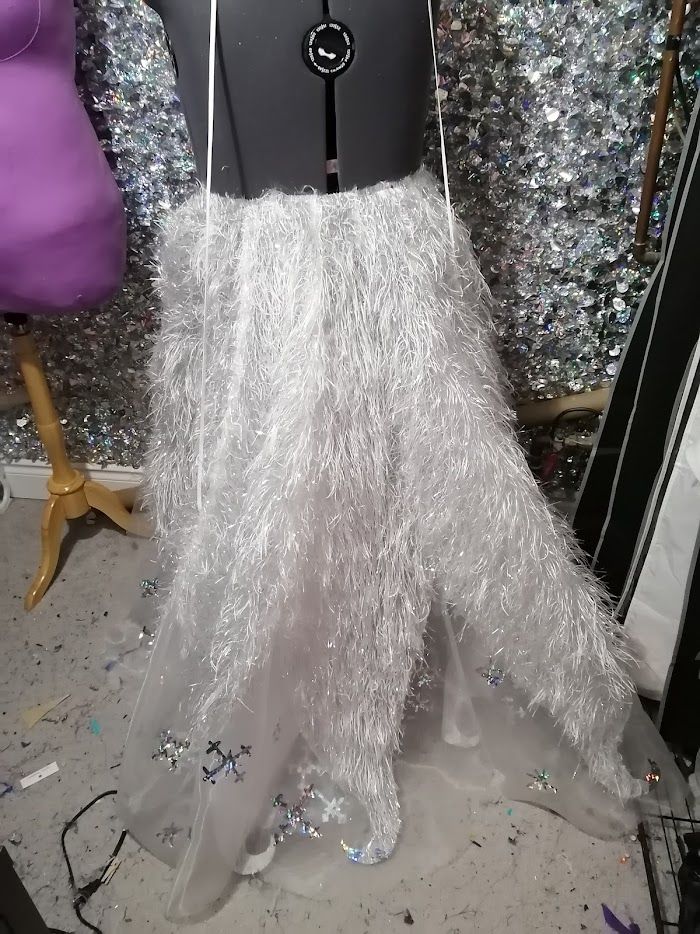
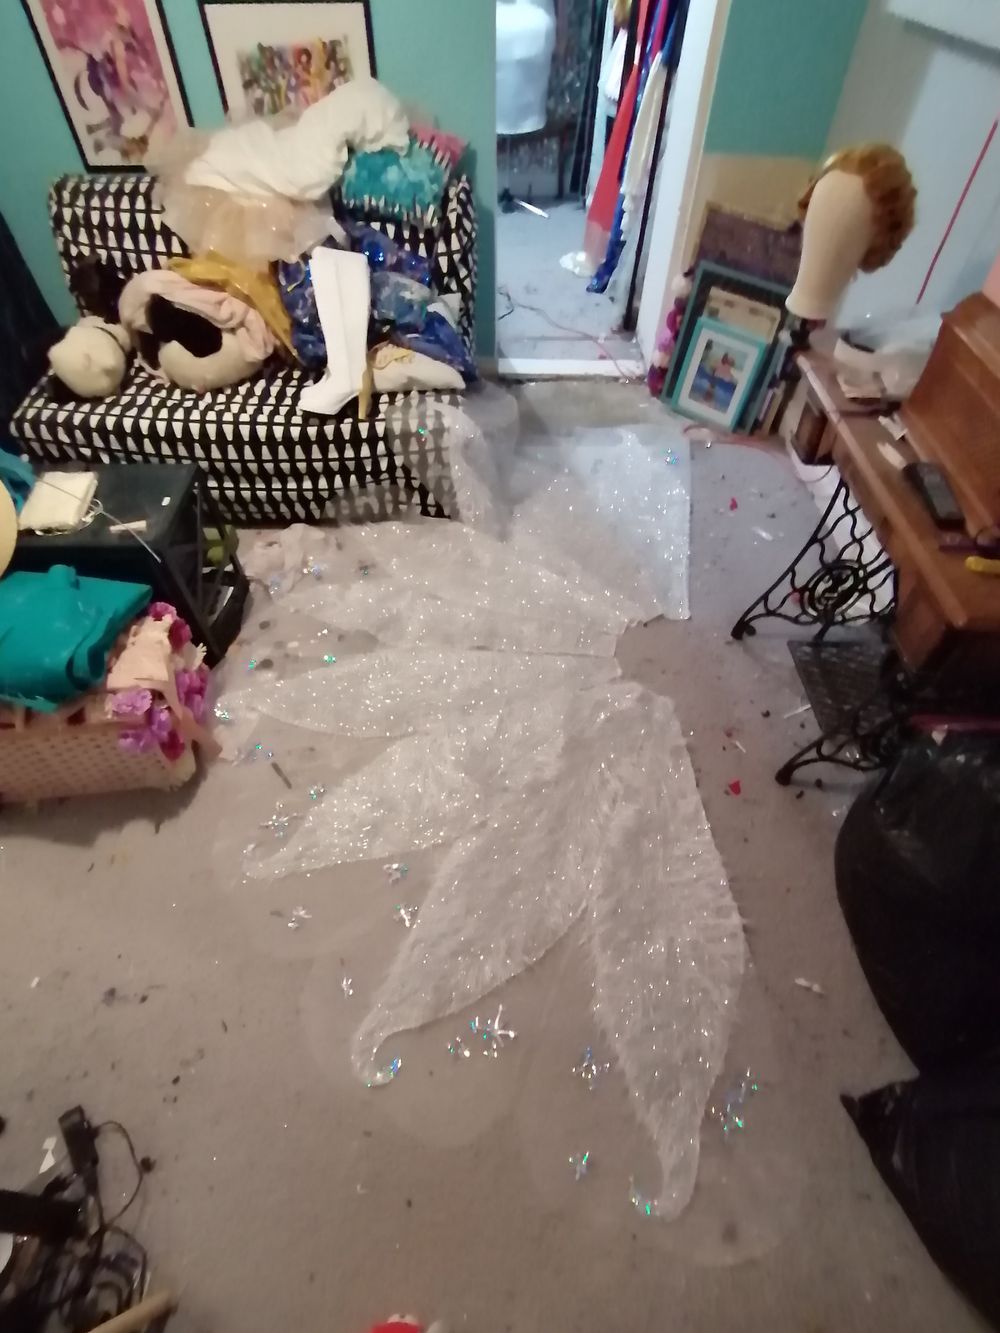
TADA! Your base tail is sewn.
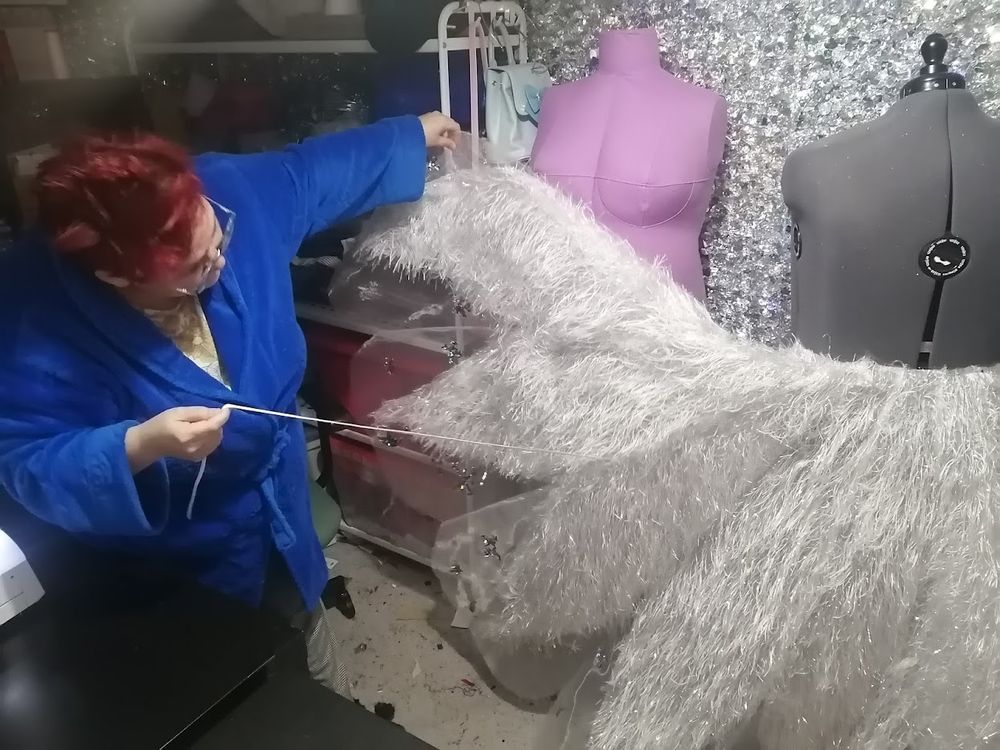
Below is my mock-up (minus supports)
Now that we're here, SUPPORTS!
When you make your tail, if you pull on your support strings and you have half your tail flopping over or the middle panels flopping YOU NEED MORE SUPPORT. Do not use synthetic whalebone or steel boning, they just do not provide enough support! It will just flop over and be sad.
Good options are
- Steel rods (found here) or any hardware store.
- Acrylic rods (here)
- Aluminium Wire wrapped in Worbla (This would be what I would do a second time around as it reduces weight)
IMPORTANT *** If you make your tail too long & your short, you will have to wear heels. Or you will not be able to walk***
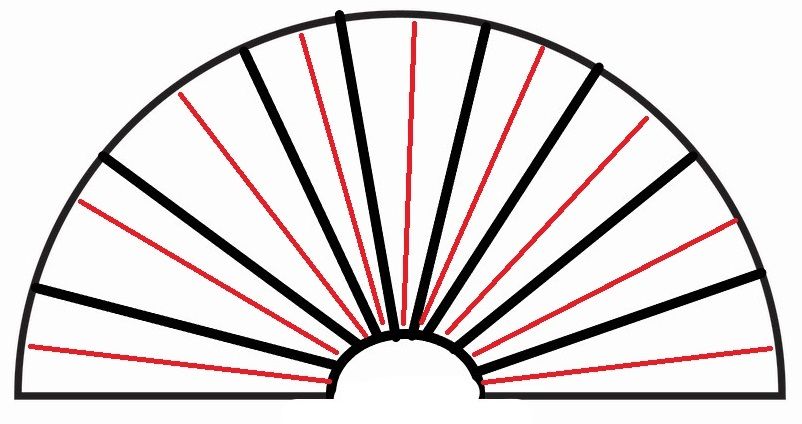
My support chart looks like this:
I did not plan my tail length by using my waist to floor meaurement: I wanted DRAMA! I had to extend my steel rods with a aluminium wire wrapped in Worbla for the extra 10cm. I also used a combo of steel rods & aluminum wire to reduce weight as I was attaching my tail with snaps.
Black lines are Steel (Side Seams)
Red Lines are Aluminum Wire
UPDATE
I made my waistband a curved band. After wearing this cosplay in a green room for four hours and on stage, the wasitband warped out—I FORGOT ABOUT THE BIAS. If you choose to make a curved waistband let it hang for 24 hours before attaching the tail. Now that my snaps no longer line up, I am making button holes in the corset and I am going to attach tabs to the sides of the waistband. The small tabs will slide in holes and attach to a button on the inside of the corset. The corset will then hold the tail totally in place.
Finishing the Edges
I used custom dyed foldover elastic which I sewed on using the bra method. Bias tape would also be a good option: you need something that gets around the curves.
Attaching to Your Waistband
I wanted to ombre dye the waist of my tail, to fit into my cosplay, which I did with Rit dye. After I attached my waistband, I handsewed ice sequins and crystal beads to fill the tail in. I also covered my boning chanels with hotfix rhinestone tape. I also glued sequin trim to the edge.
TIP FROM KIRILEE: Don’t make it too heavy.
(agree)
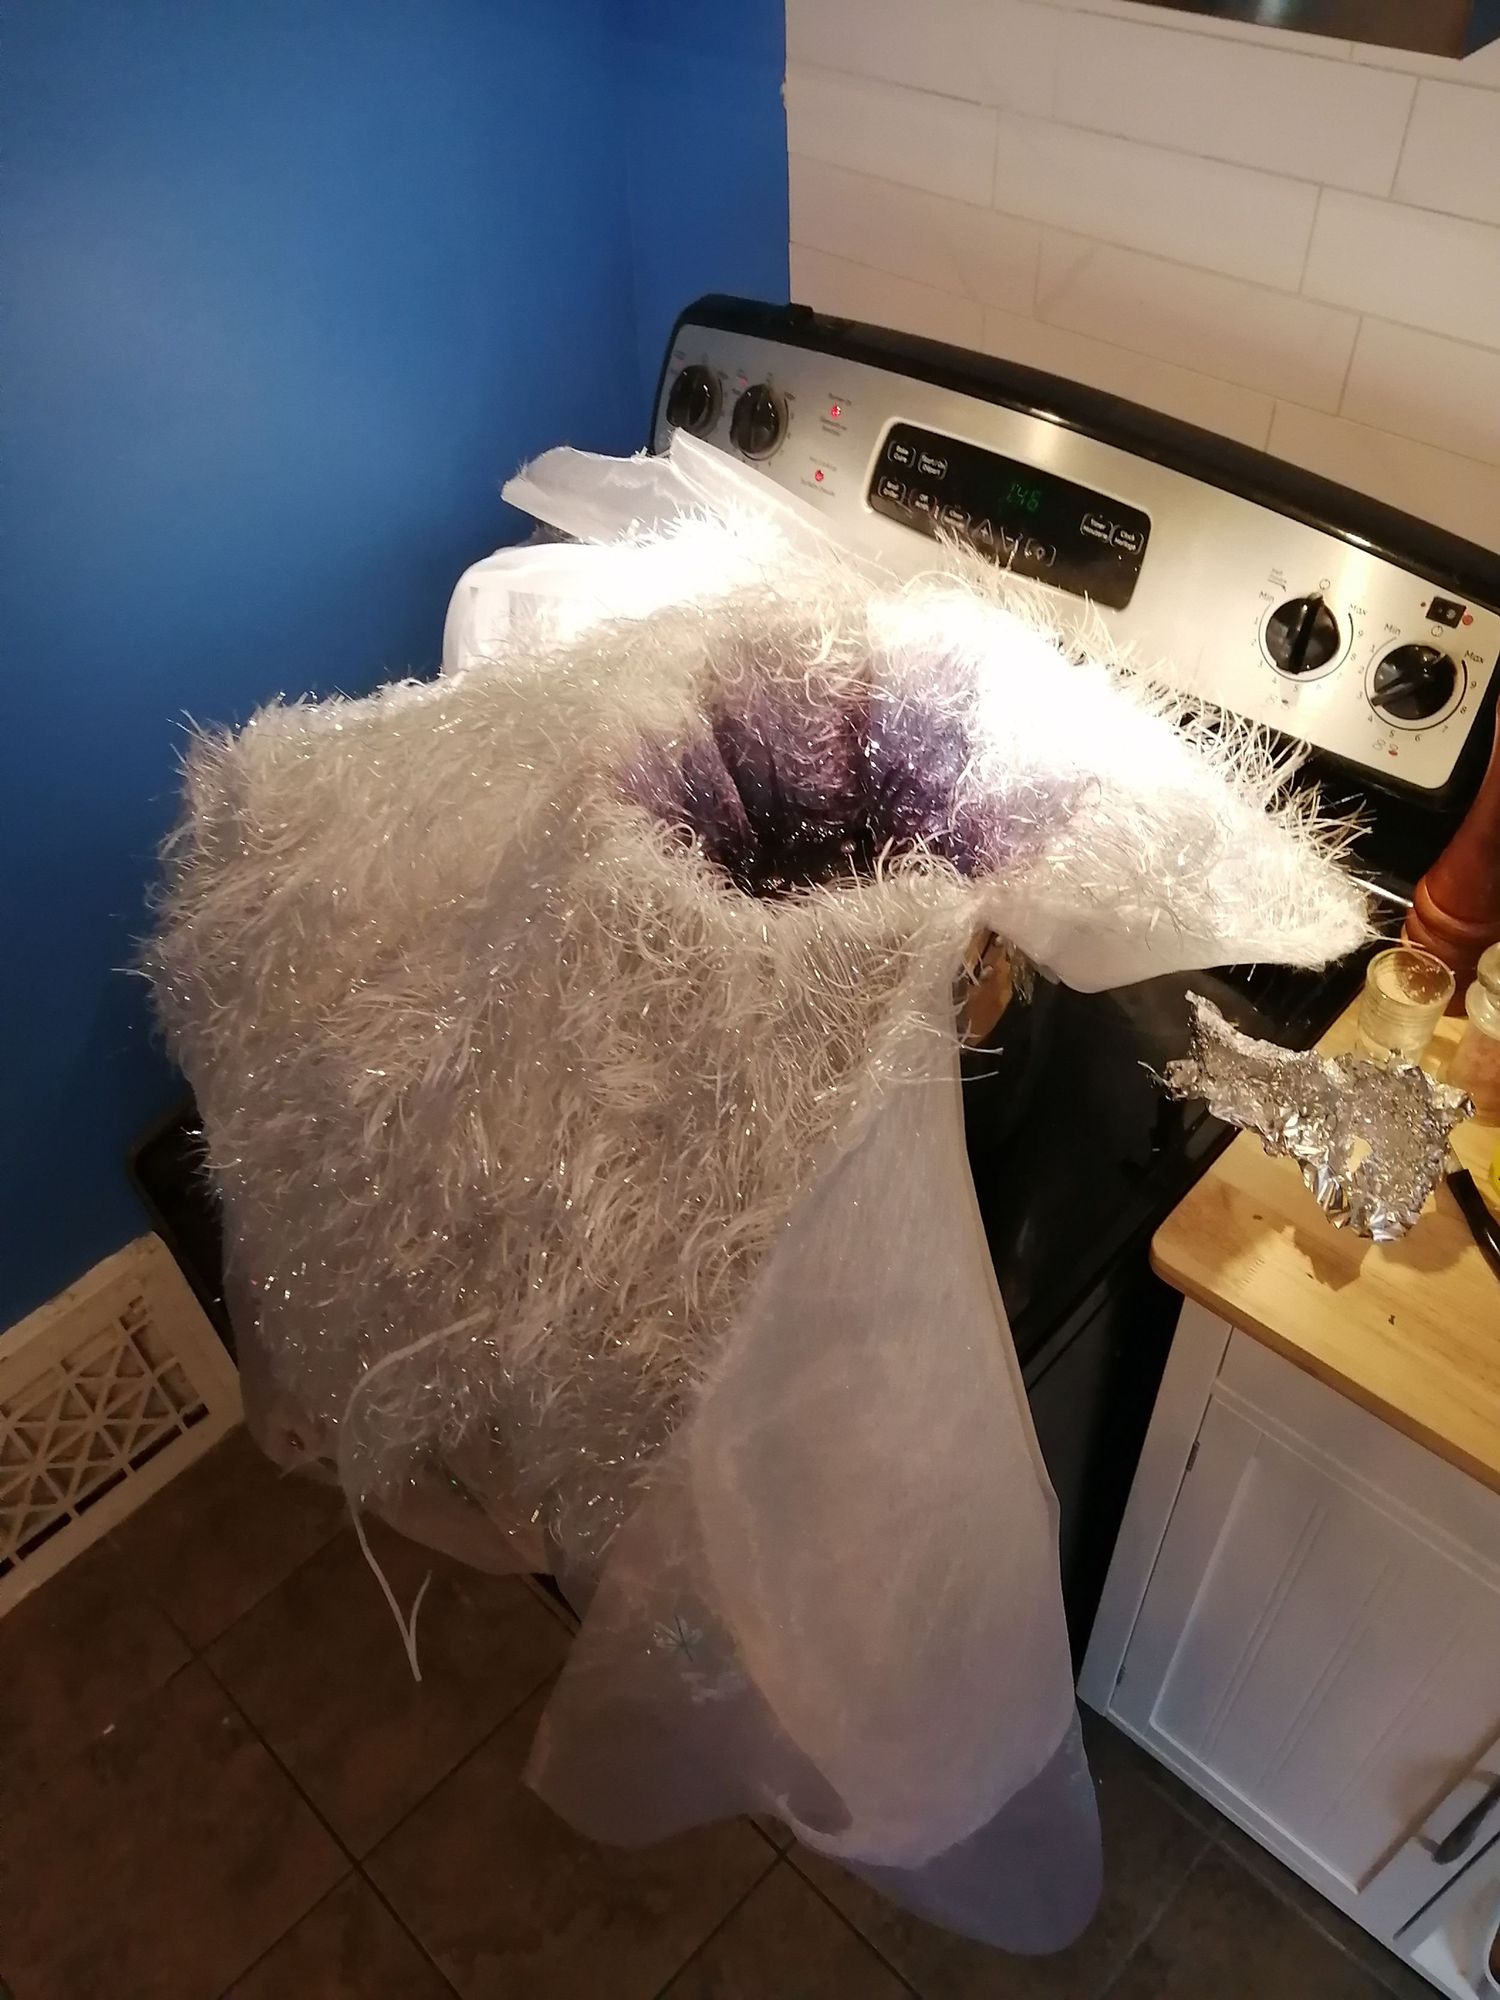
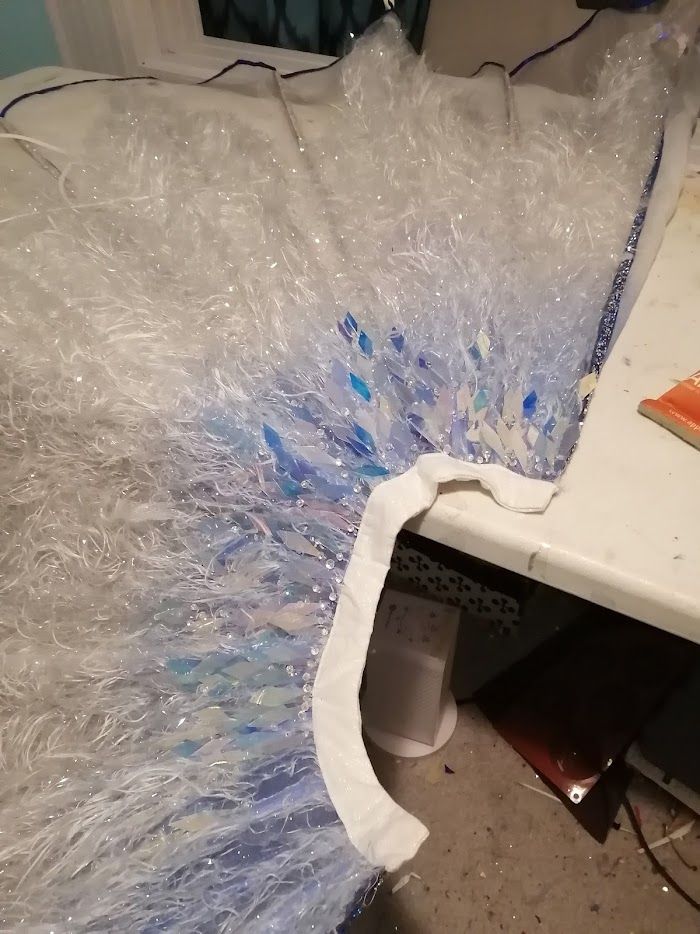
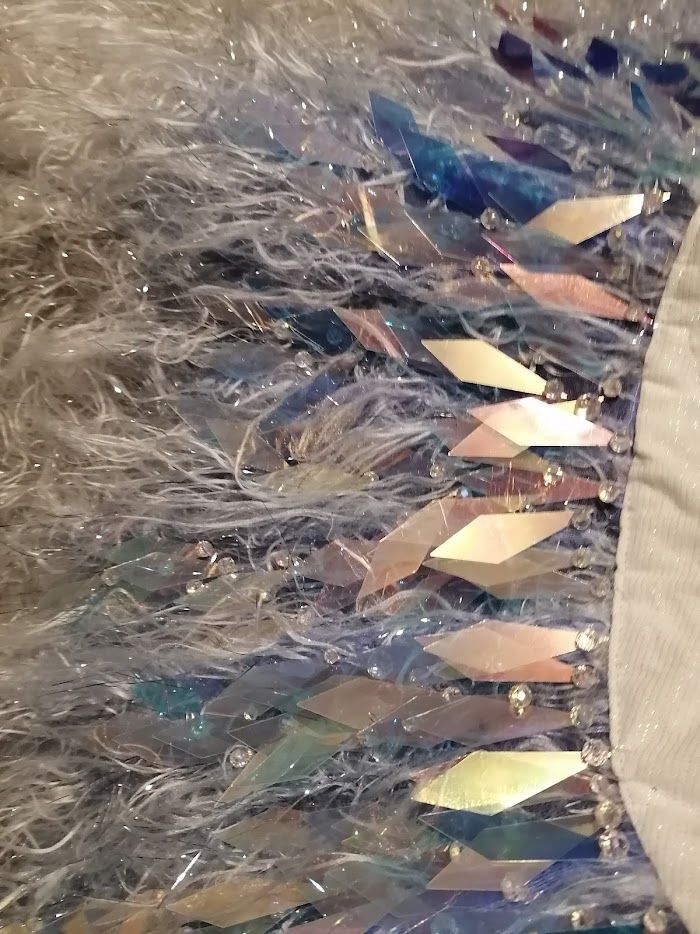
You can choose to make you tail attach by tying, snaps or full waistband with button. Sew your Tail to your waist band in your usual manner.
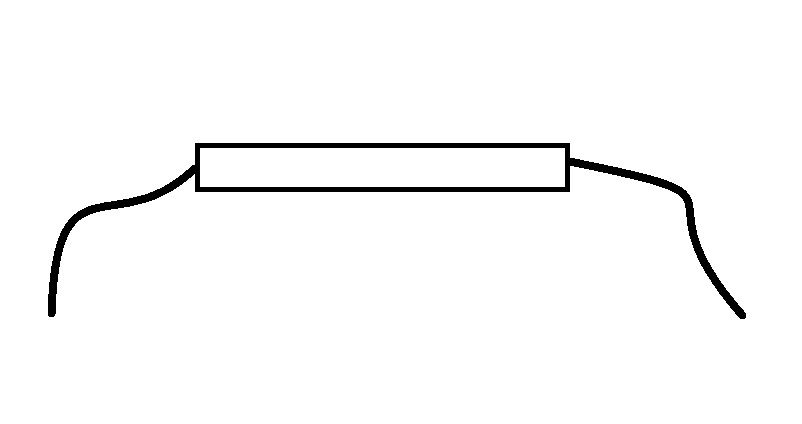
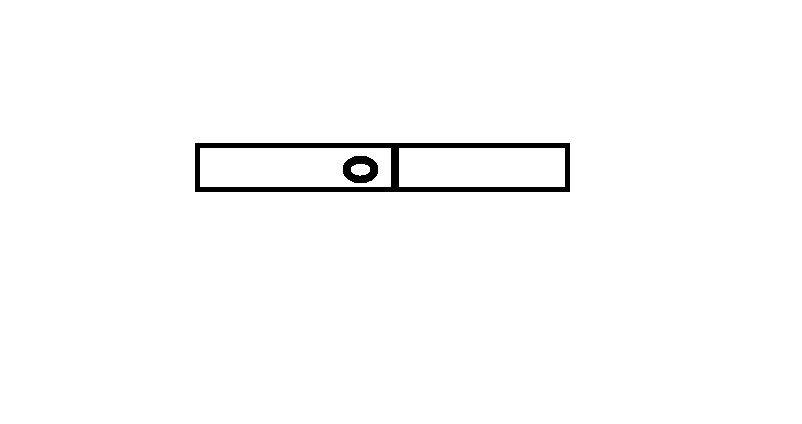
LEDs
This was the part that took me the longest! I resarched so many things. I need up learning most of what I need here from Adafruit. When I coded my Gemma boards and Flora boards I had help from my software engeering husband. THIS WAS SO HARD! Next time I am using EL wire, but I wanted a star-blink look so I used LED Sequins.
Pattern
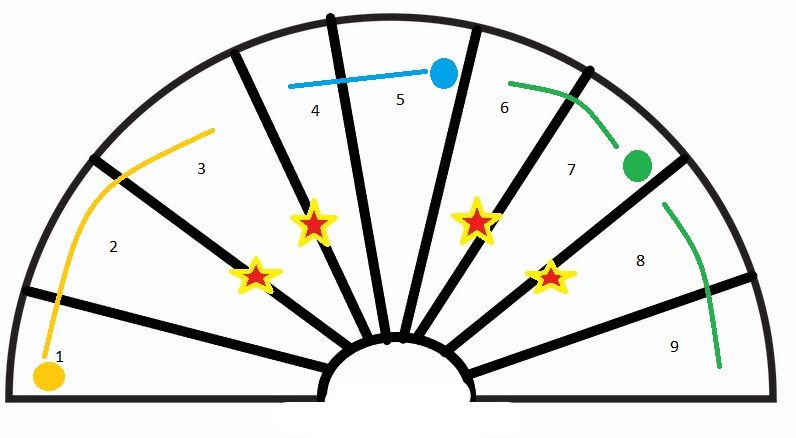
The green circle is a Flora board with two lines of LED sequins wired in parallel. The Blue and yellow are Gemma boards with one line of LEDs wired in parallel.
Testing
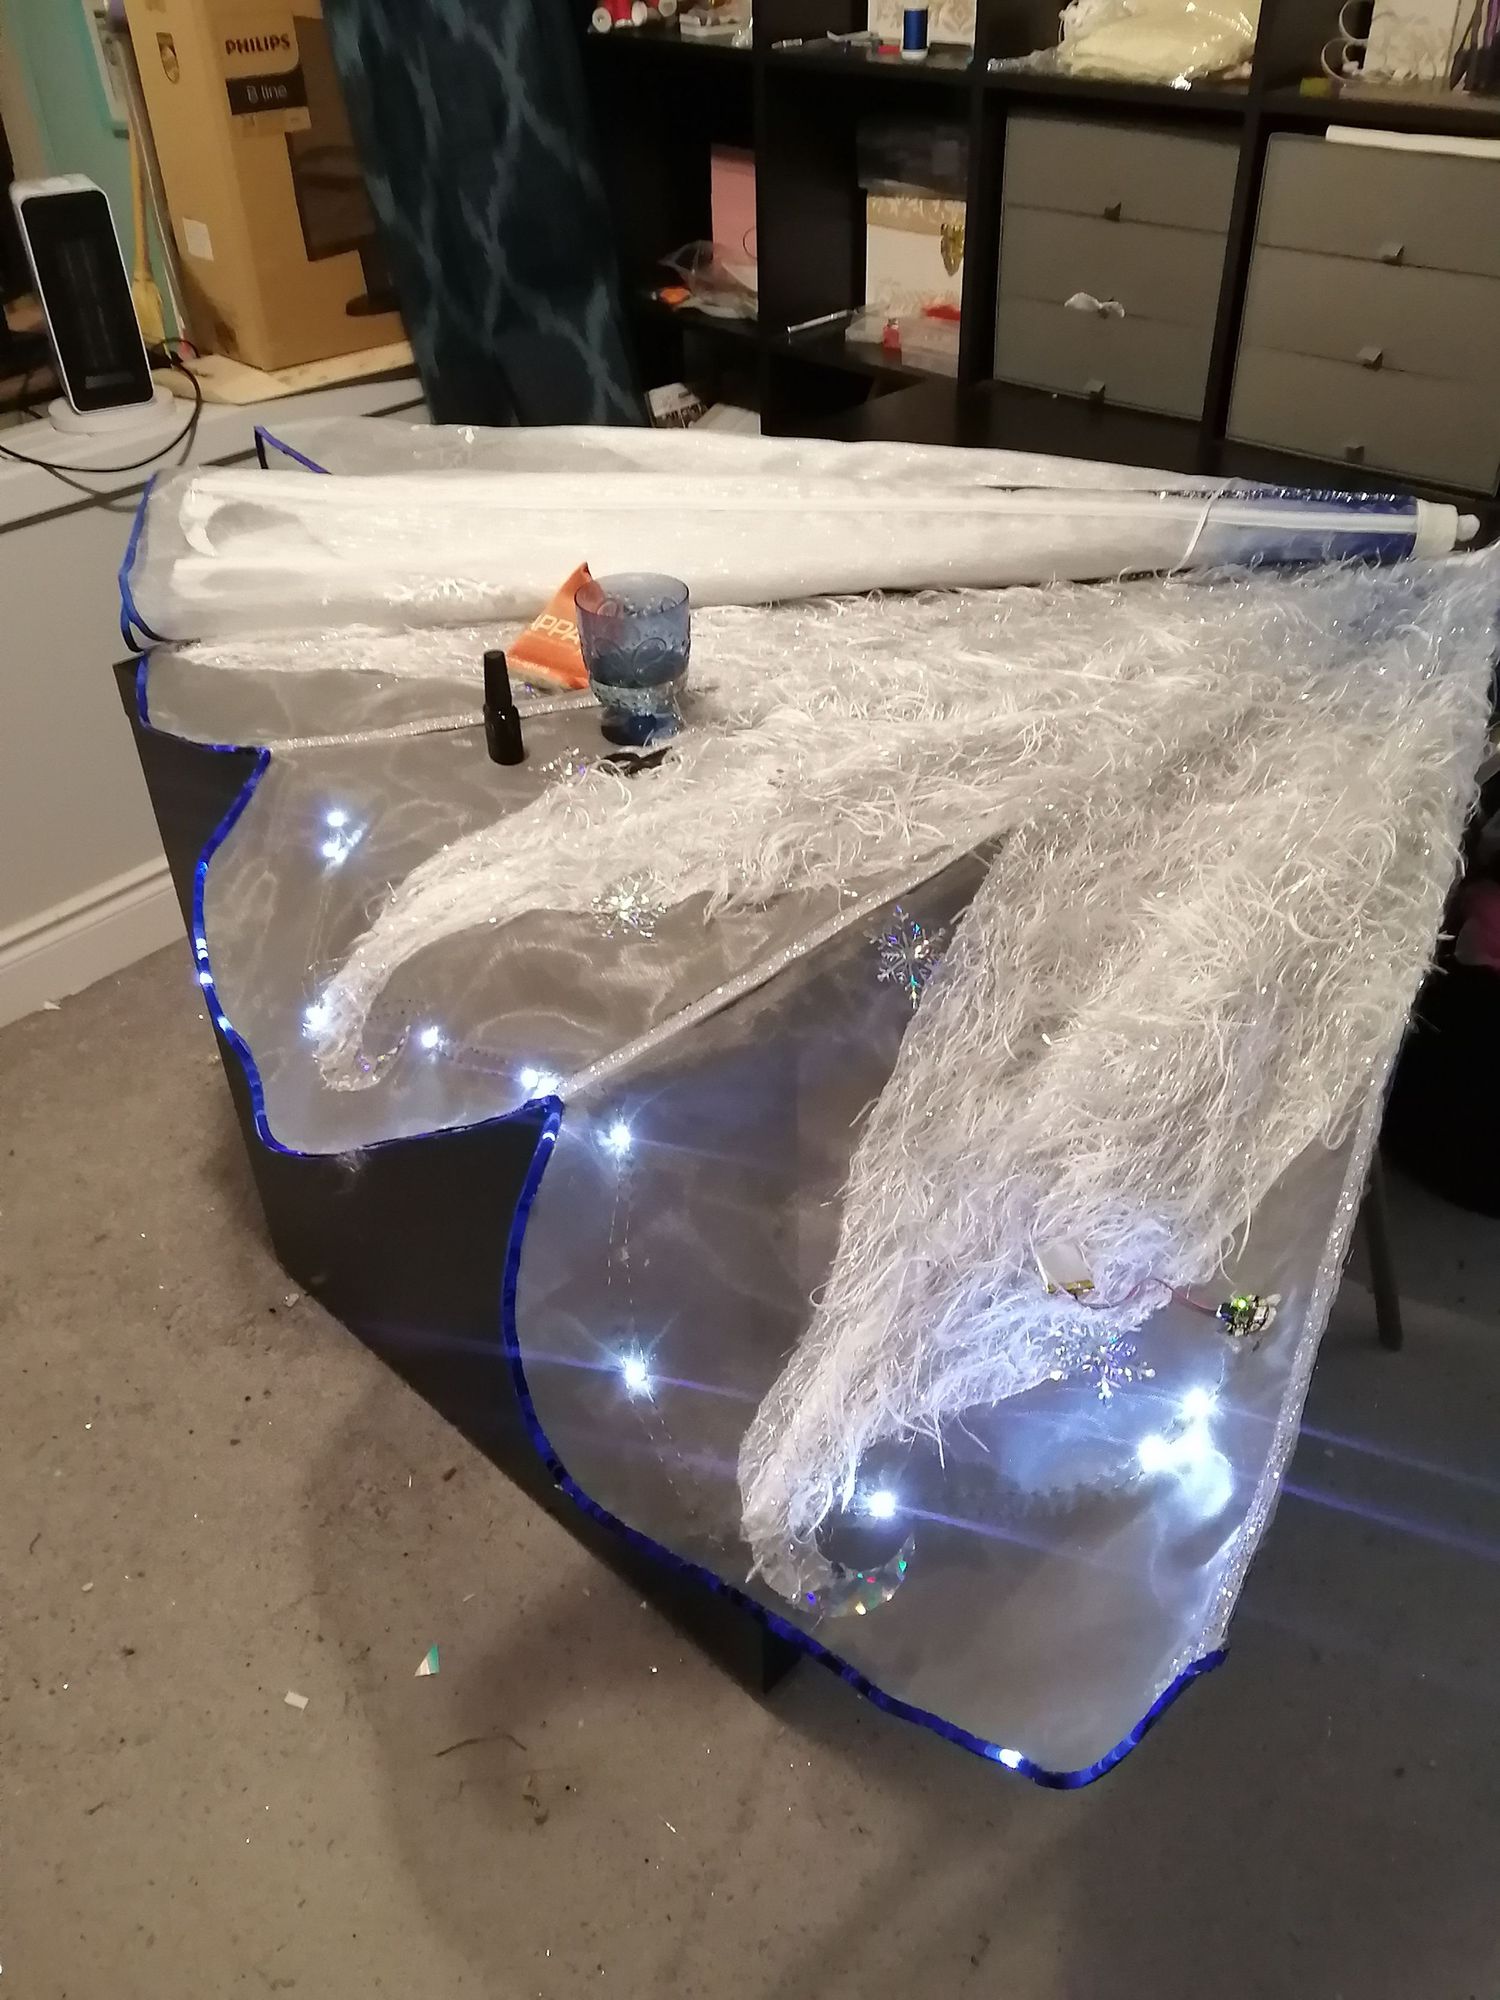
I tested one pattern at a time to make sure my hand stiches with the conductive thread were tight enough with no short circuits.
Gemma Board
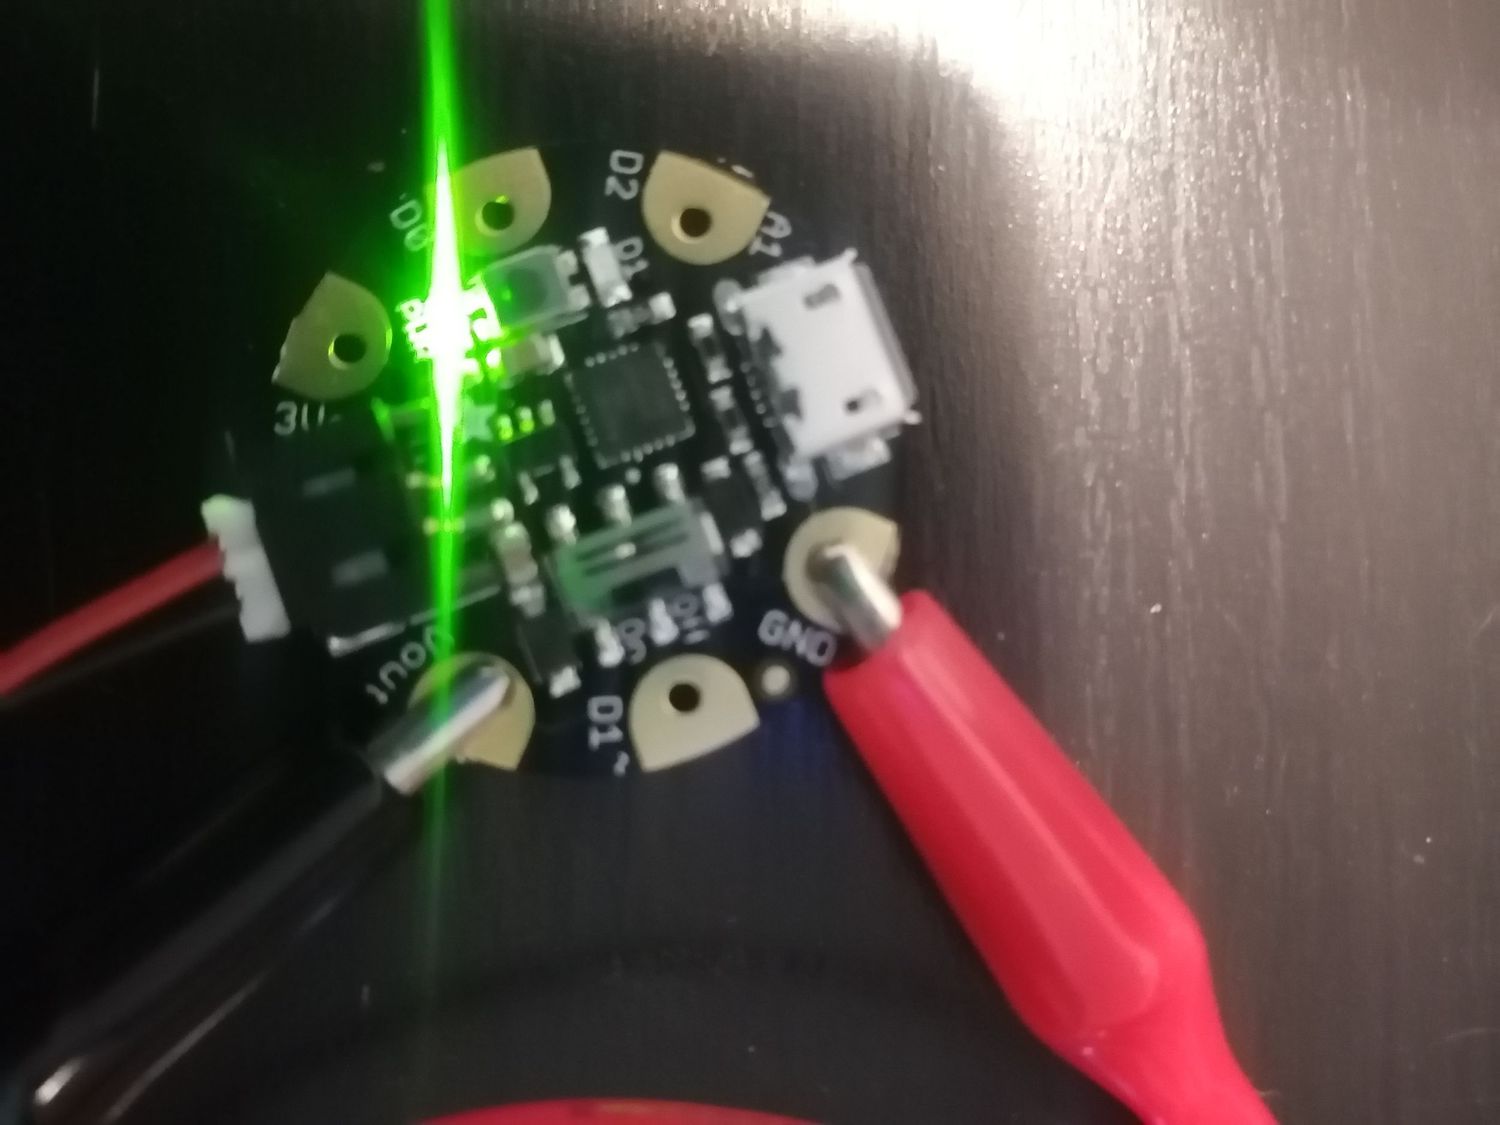
I tested by Gemma and Flora board with electical clips and lithiuim batteries.
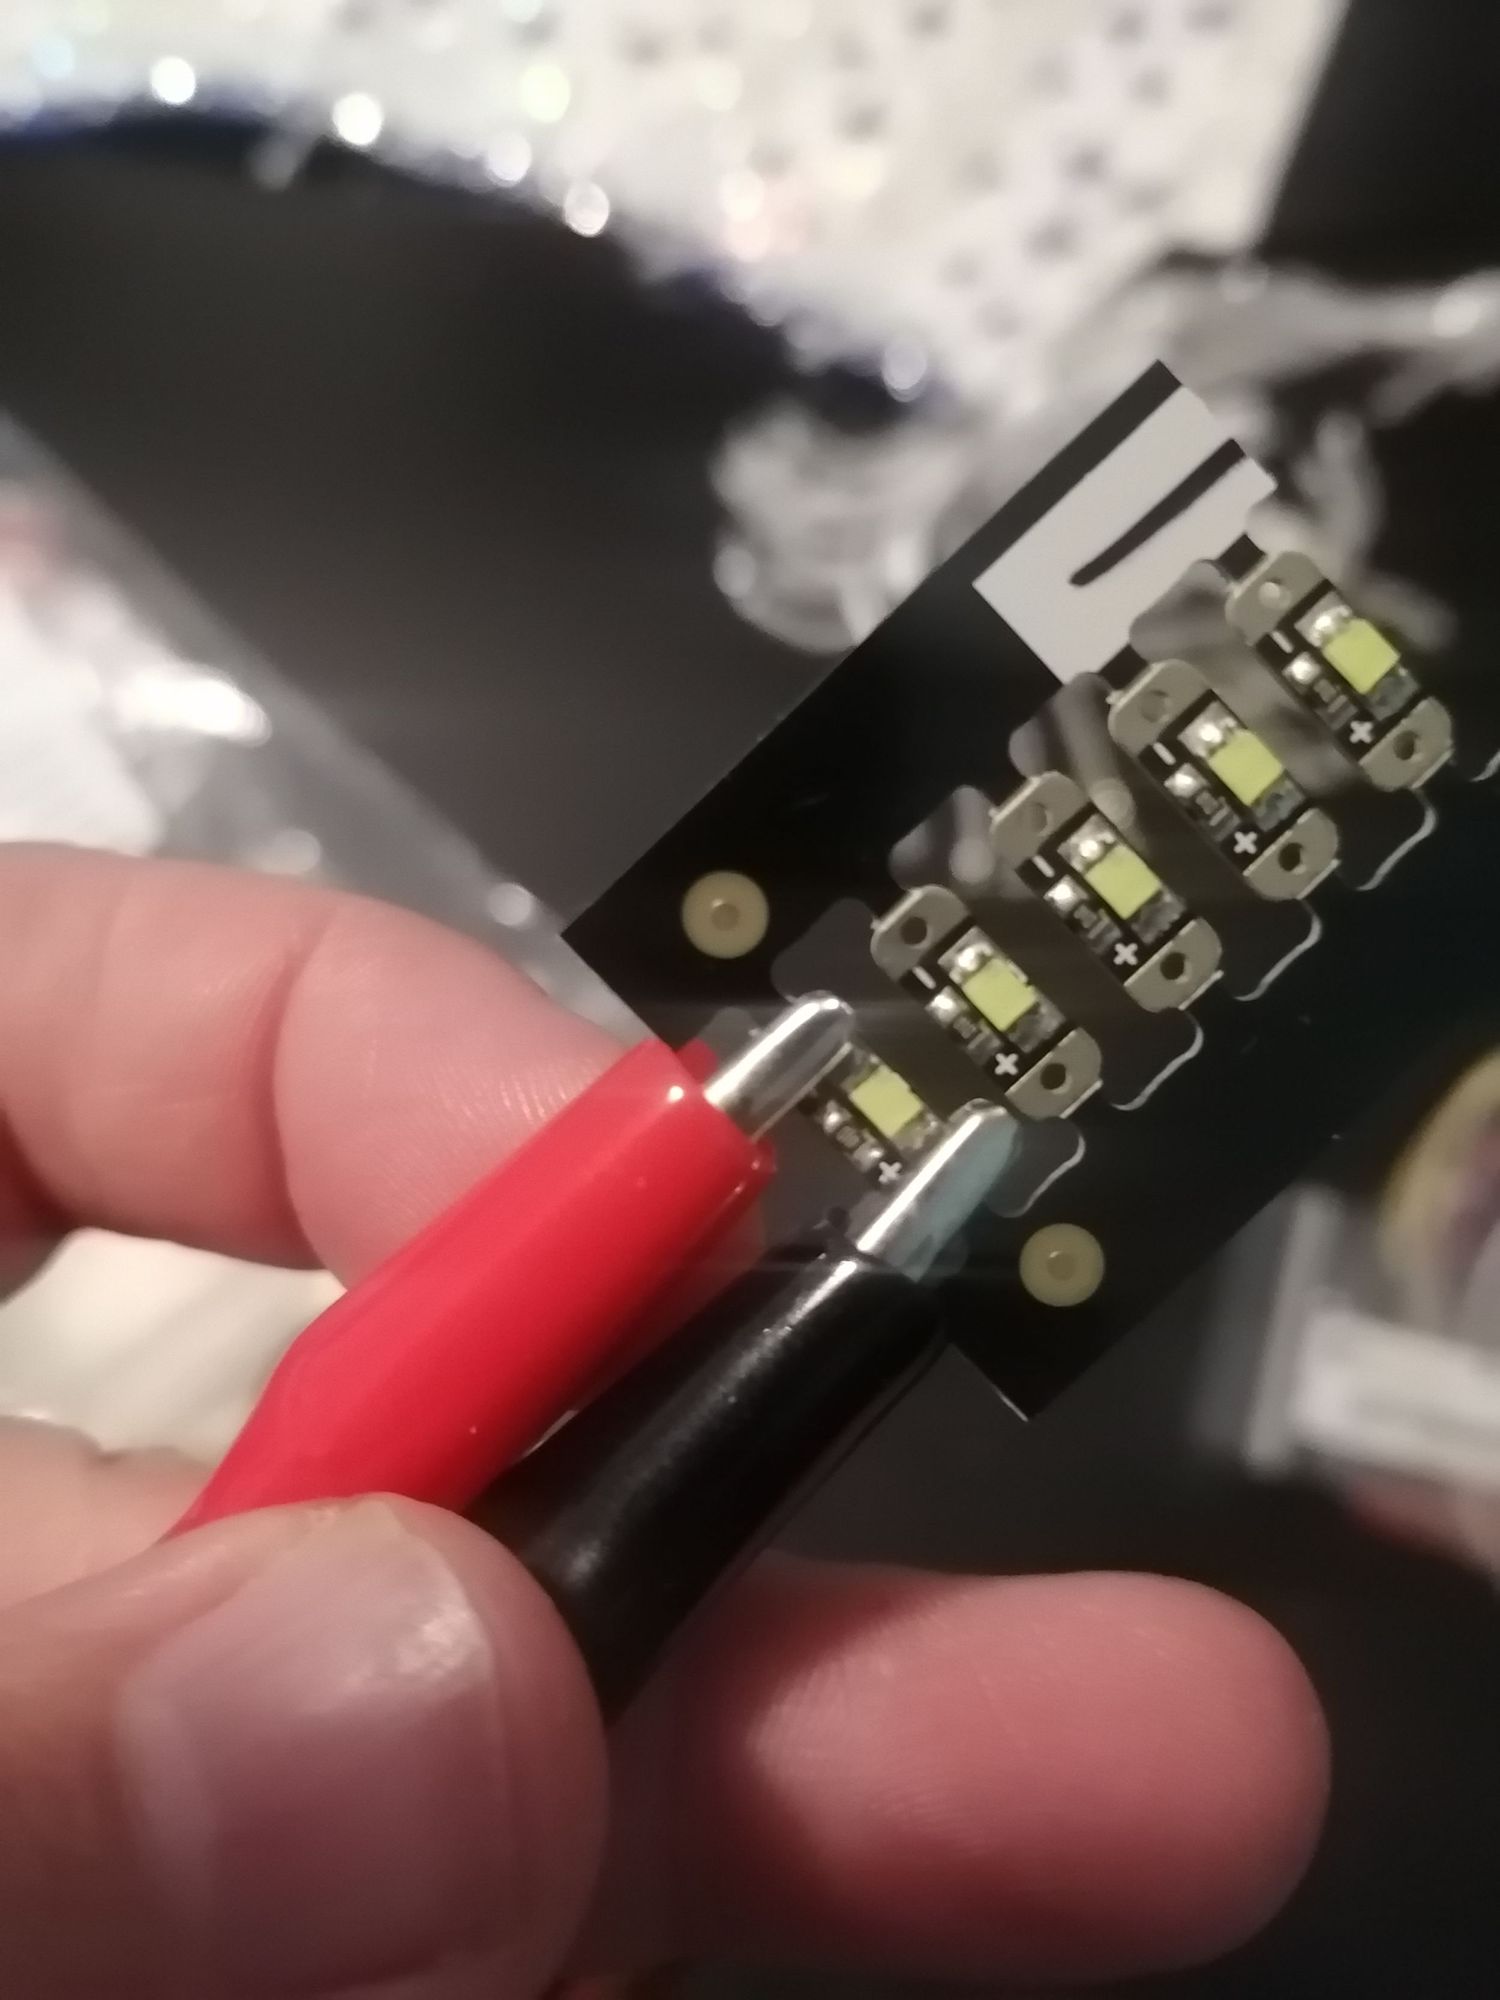
LED Sequins
They come in a wide range of colours. I choose white. I used this video from Adafruit a lot
Blancing Your Tail
TIP FROM Kirilee: Counter weights on the two bottom ends help.
Tip FROM MYSELF: I wanted to be hands-free while wearing the costume so I used Victorian corset ticks for this.
You are going to sew downward facing hooks to your corset. Put on your corset and attach your tail. Pull and hold your ribbons in place, mark where they meet the hook—If you have a judy or a friend it make this part easier. If they look lopsided, add your second ribbon to the second ribbon mark. Hand sew them in place. Then pull them till they're taught to the FIRST RIBBON at about the waist line. One line will be tighter then the other to balance the tail.
HANDS FREE WALKING!
Update: I am also going to add counter weights in the form of gems.